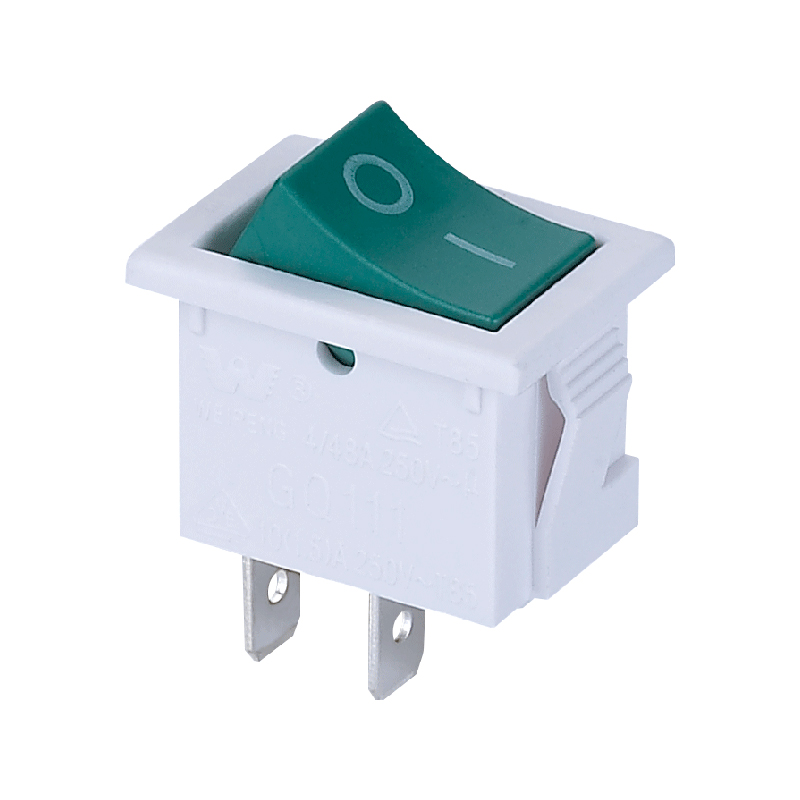
Whether you’re replacing a faulty unit or upgrading a control panel, removing a rocker switch is a manageable task with proper care. Always start by disconnecting all power to ensure safety. These common switches, recognized by their rocking paddle actuator, are found everywhere from car dashboards to industrial equipment. By following a few key steps accessing the rear, disconnecting the wiring, and releasing the mounting clips—you can safely remove it for repair or replacement.
Before You Begin: Essential Safety First
⚠️ The most critical step is to disconnect all power. For a vehicle, disconnect the negative battery cable. For a home or industrial panel, turn off the circuit breaker at the main distribution board and verify the power is off using a voltage tester. Never work on a live circuit.
Step-by-Step Removal Guide
1. Touch Switch: Typically, rocker switches are mounted on a panel. You need to carefully pry open the surrounding trim or unscrew the panel screws to access the back of the switch.
2.Disconnect the Wires: Locate the rear of the switch where the terminal wires are connected. Most switches use push-on spade connectors or screw terminals. Gently pull off spade connectors or loosen the terminal screws. Tip: Take a clear photo with your phone before disconnecting wires to ensure correct reconnection later.
3.Release the Switch from the Panel: The switch is typically held in its cut-out by two metal or plastic clips on its sides. Using a small, flat-head screwdriver, gently press these retaining clips inward, toward the body of the switch. While pressing the clips, you should be able to push the switch forward from the rear, easing it out of its mounting hole.
4.Remove the Switch: Once the clips are disengaged, the entire rocker switch assembly can be pulled out from the front of the panel.
When You Might Need to Do This
1.Replacement: The most common reason is a failed switch that no longer makes consistent electrical contact.
2.Upgrades: Swapping out standard switches for illuminated, sealed, or differently styled rocker switches.
3.Panel Modifications: Reconfiguring a control panel for new functions or equipment.
For installation of the new switch, simply reverse the process, ensuring the wiring matches your earlier photo. Always double-check that all connections are secure and the switch is firmly seated in the panel before restoring power. By following these steps, you can confidently handle this common maintenance task, keeping your equipment functional and your panels looking professional.
Post time: Dec-25-2025